Copyright Aleksey&Ruslan 2014
RCCreator програмне забезпечення створено для считування кодів різних пультів дистанційного керування і запису їх в пульти дистанційного керування нашого виробництва. Це також дає змогу керувати пристроями за допомогою комп'ютера. В даний час наше програмне забезпечення може працювати з 98% всіх пультів дистанційного керування для супутникового ТБ, телевізорів, DVD, аудіо. Якщо є якийсь пульт, який Ви не можете запрограмувати, будь ласка, надішліть цей пульт в нашу компанію так ми зможемо оновити програмне забезпечення для Вас. Постійно оновлює базу даних. Основна відмінність нашого програмного забезпечення від інших такого типу в тому, що Ви можете оновити самостійно. Програмне забезпечення є простим у використанні. Ви можете зробити копію будь-якого дистанційного керування в короткий час без будь-яких проблем.
Pentium II або AMD аналогічний, 128MB ОЗП, 200 МБ на твердому диску, розширення екрану 800х600.
Операційна система Windows XP, Windows Vista, Windows 7, Windows 8, Windows 10.
Батршин Олексій & Руслан Батршин
Всі права на програмне забезпечення належать авторам. Незаконно використовувати програмне забезпечення для програмування інших Пульти дистанційного керування за винятком брелків нашого виробництва.
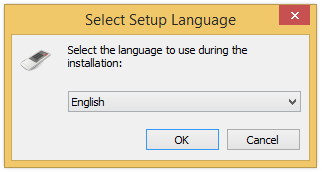
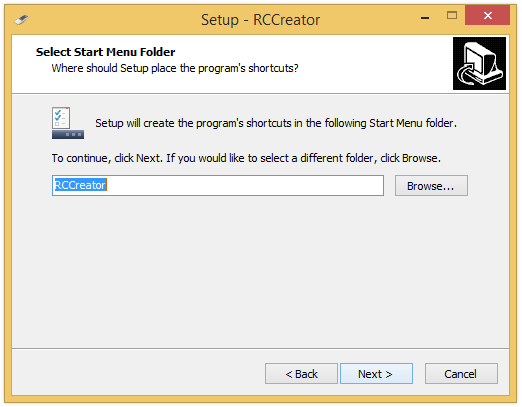
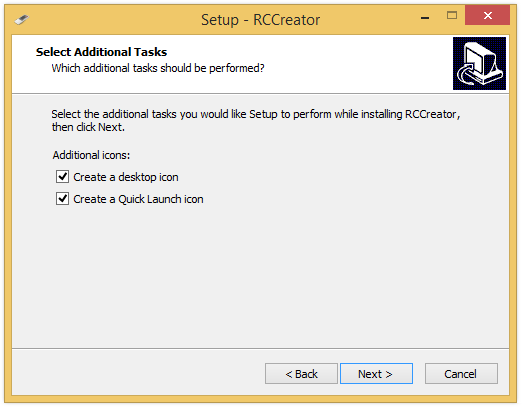
Завантажте файл RCCreator-Win.exe з мережі та запустити його. Виберіть мову інсталяції.
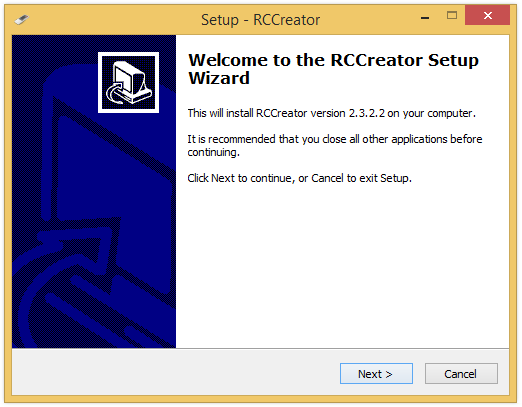
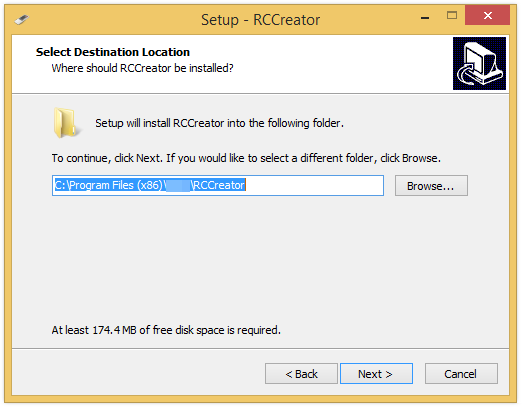
Дотримуйтесь крок за кроком майстра установки.


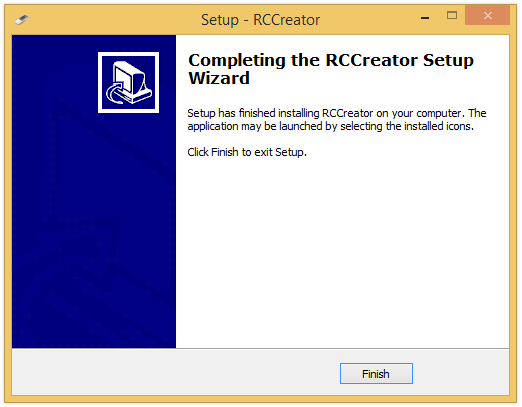
Тепер програмне забезпечення встановлено. Перейдіть до меню Пуск => Всі програми => RCCreator і запустіть RCCreator. Або запустіть програму з робочого столу.
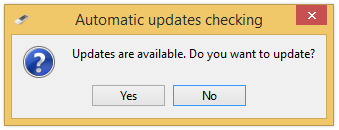
Якщо ви бачите автоматична перевірка оновлення, можна написнути відповідь "Так" та оновити програмне забезпечення.
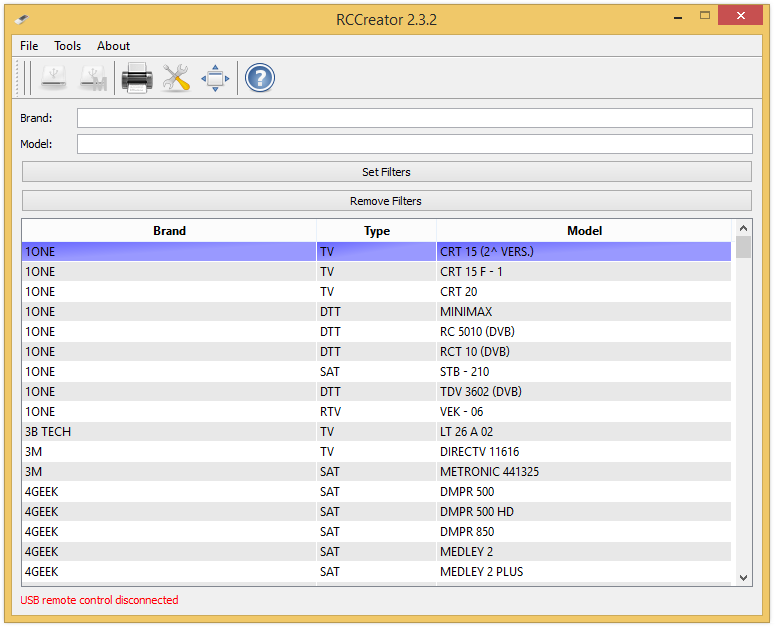
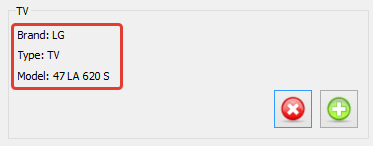
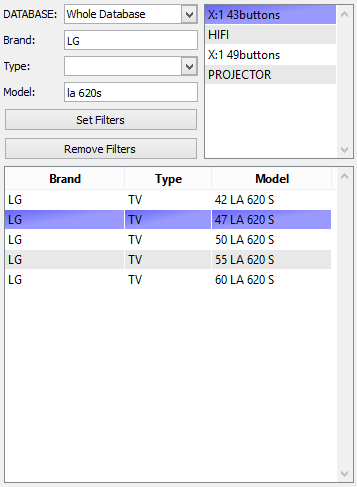
1. Написати бренд і модель, яку потрібно запрограмувати.
2. Натисніть кнопку Встановити фільтр
3. Натисніть на модель, яку потрібно запрограмувати.
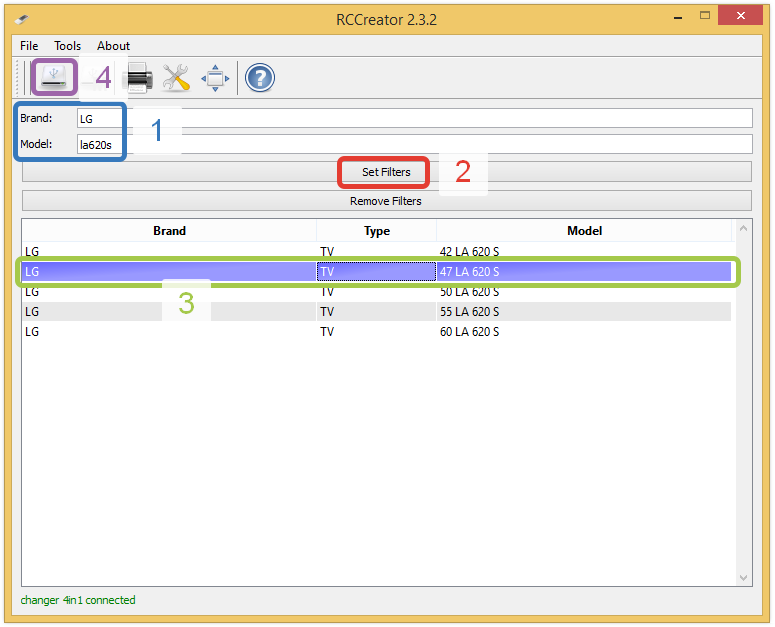
4. Виберіть ![]() Запрограмувати пульт ДУ в рядку меню. Буде відкрито вікно для програмування пульта.
Запрограмувати пульт ДУ в рядку меню. Буде відкрито вікно для програмування пульта.
Для програмування виберіть місце для інсталяції і натисніть кнопку Додати ![]() .
.
Ви можете бачити, що пульт дистанційного керування програмується, якщо блимає червоне світло. Не від'єднуйте його від комп'ютера. Після того, як червоне світло погасло - можна відключити пульт і використовувати його.
Натисніть кнопку ![]() Друк, щоб роздрукувати макет кнопок.
Друк, щоб роздрукувати макет кнопок.
Щоб перейти до повної інструкції будь ласка нажміть ![]() Допомога.
Допомога.
Щоб встановити програмне забезпечення завантажте файл RCCreator-Win.exe на жорсткий диск і запустіть. Виберіть мову програмного забезпечення.
Дотримуйтесь крок за кроком майстра установки.
Тепер програмне забезпечення встановлено. Перейдіть до меню Пуск => Всі програми => RCCreator і запустіть RCCreator. Або запустіть програму з робочого столу.
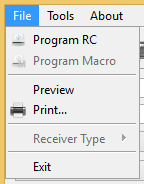

![]() Program
Program ![]() Program macro
Program macro ![]() Print
Print ![]() Settings
Settings ![]() Switch to full version
Switch to full version ![]() Help
Help
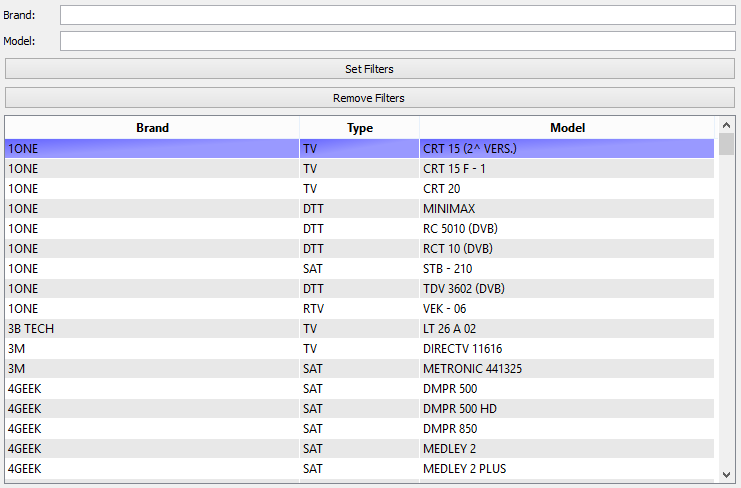
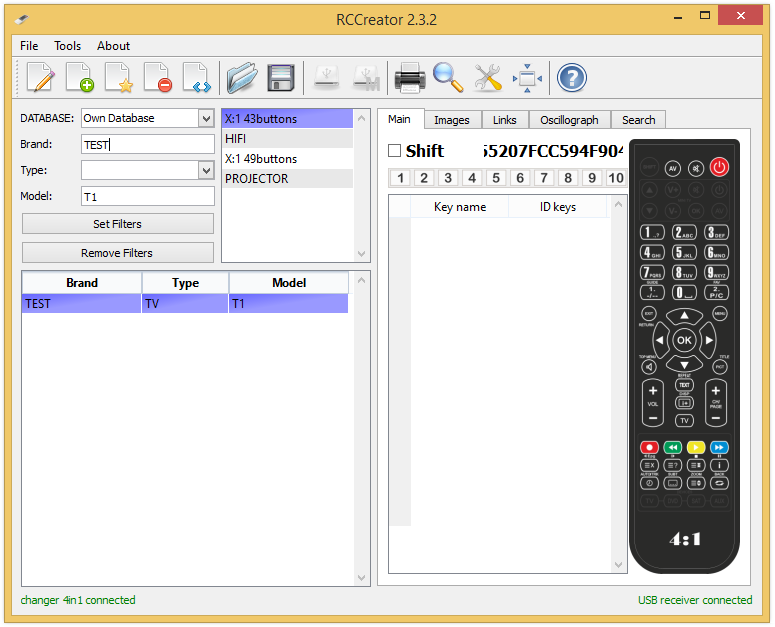
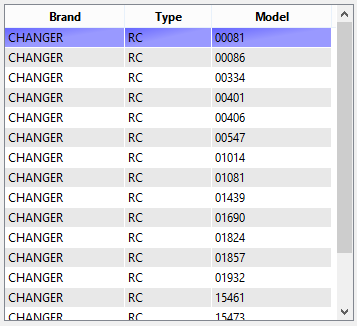
Main window consists of filter and remote controls table.


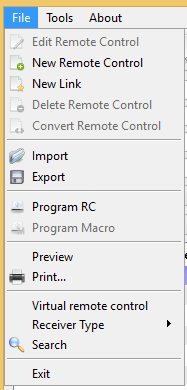

![]() Edit Remote Control
Edit Remote Control ![]() New Remote Control
New Remote Control ![]() Add link to Remote Control
Add link to Remote Control ![]() Delete Remote Controle
Delete Remote Controle ![]() Convert Remote Controle
Convert Remote Controle ![]() Import
Import ![]() Export
Export ![]() Program
Program ![]() Program macro
Program macro ![]() Print
Print ![]() Search
Search ![]() Settings
Settings ![]() Switch to simple version
Switch to simple version ![]() Help
Help
Main window consists of two parts.
The left part includes filter, remote controls table and list of different USB remote control's types.
The right part shows all the information about the remote control: keys names and position, pictures, remote control's links.
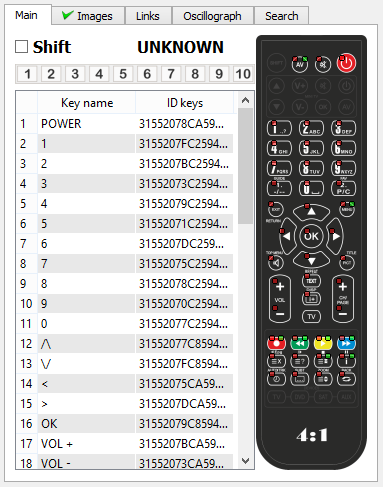

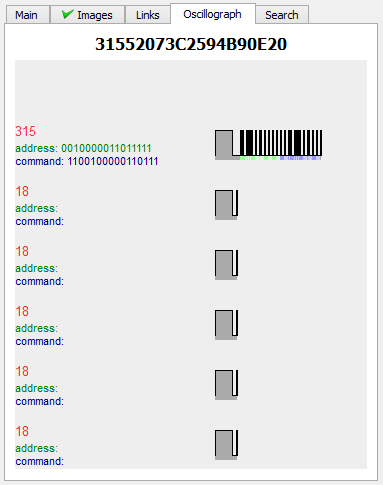
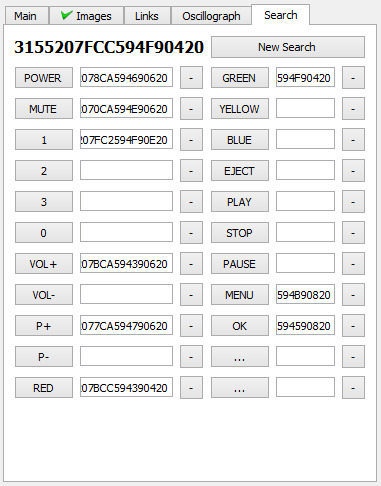
The right part also have Oscillograph and Search by code tabs.


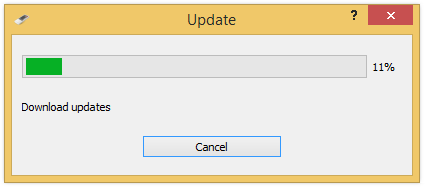
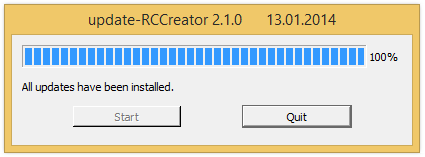
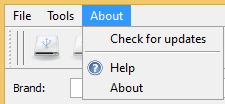
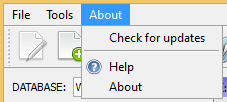
For starting update answer Yes on question when run RCCreator or start update from Menu bar => About => Check for updates.
Updates start downloading.
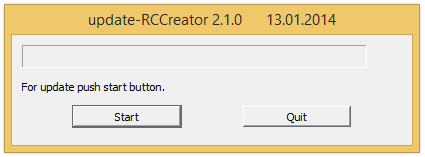
Click Start.
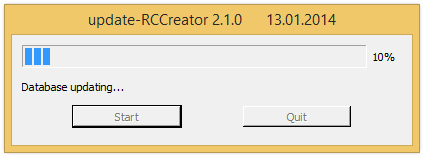
Updating...
Click Quit.
Now you can use new RCCreator version.
Click ![]() Full version for switching to full RCCreator version.
Full version for switching to full RCCreator version.
Click ![]() New remote control in the Menu or Toolbar. The new remote control form will be opened. Enter the Brand, remote control Type or chose one from the list, then enter the remote control Name. Click Add new remote control.
New remote control in the Menu or Toolbar. The new remote control form will be opened. Enter the Brand, remote control Type or chose one from the list, then enter the remote control Name. Click Add new remote control.
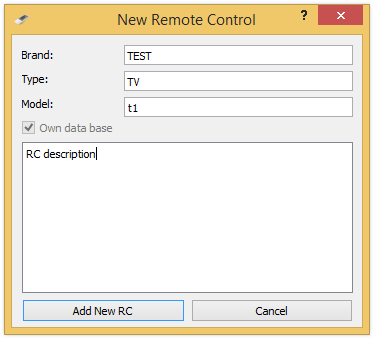
You have added the new remote control and the software has automatically navigated cursor bar on it.
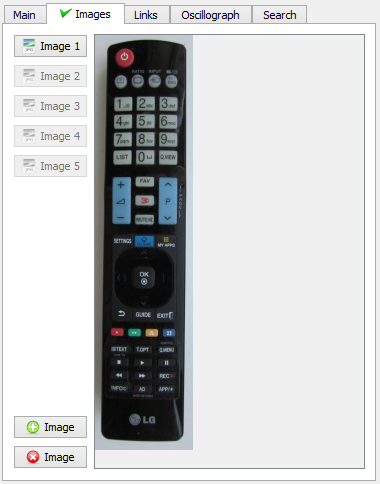
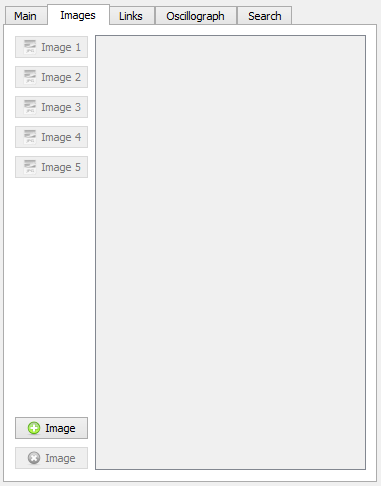
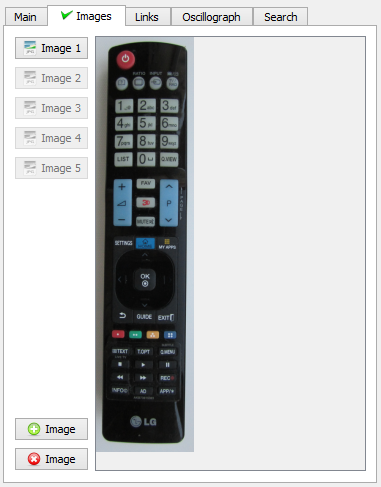
Go to the tab Images. Here you may add the remote control images.
Insert batteries into your remote control. Connect the remote control to your PC via USB cable. If you connect the remote control correctly - it will flash a red light. At the status bar (bottom-right window RCCreator) you will see an inscription in green font on a connected remote control.


Go to the Main tab. Place the original remote control in front USB remote control (diode to diode).
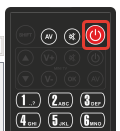
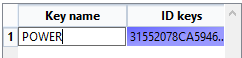
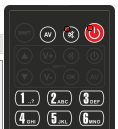
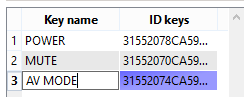
Click button on the original remote control. Start with POWER button. The software will try to read the code. Whereas the code reading was successful the key identifier appears.
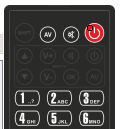
With double click of the mouse press the key on the image where you would like to place the code. The red sign occurs on the key (and green sign if adding type was specified with SHIFT key).
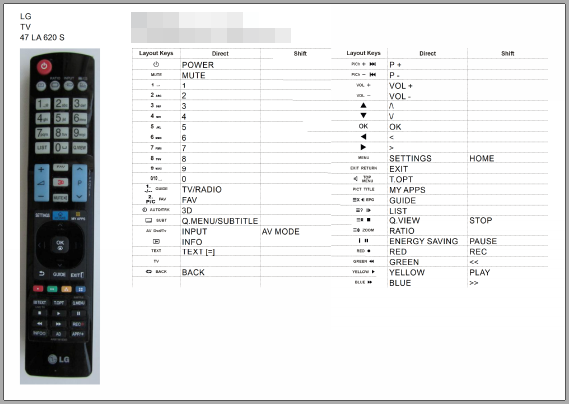
Enter the name of the sample key then Enter. Those names will be printed in the keys printout.
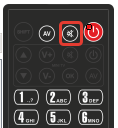
Click MUTE on the original remote control.
Do the same for all keys.
If you want change Adding Type Direct or with Shift, please check Shift

You can delete any key by clicking on Delete
After you have programmed all the keys you have the following possibilities:
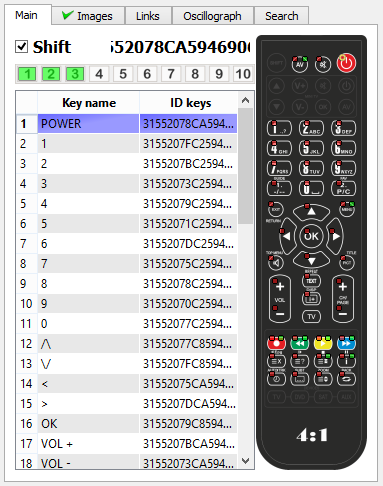
You can check the correctness of the programmed keys by clicking on the sample remote control. If they are programmed correctly than red or/and green signs on the keys will be encircled with yellow color.
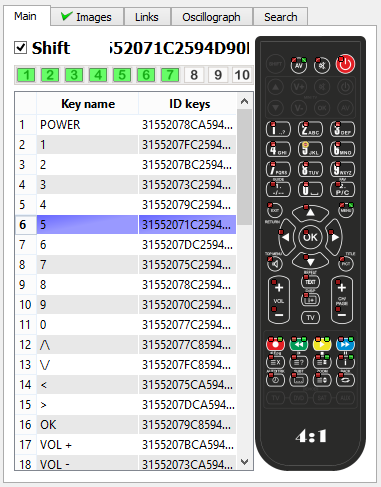
if all the keys were encircled with yellow color, the sample remote control is programmed correctly.
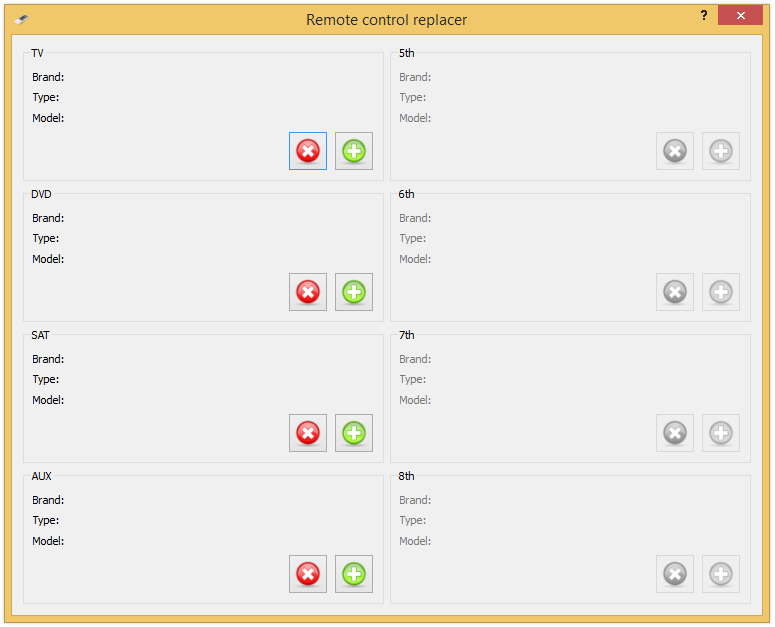
Link is the same remote control, but different brand/type/name. Click ![]() New remote control link in the Toolbar. New remote control link form will be opened. Enter the Brand/RC type or chose one from the list, then enter the RC name. Click Add New Remote Control Link key.
New remote control link in the Toolbar. New remote control link form will be opened. Enter the Brand/RC type or chose one from the list, then enter the RC name. Click Add New Remote Control Link key.

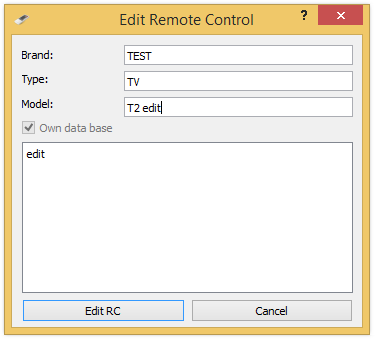
Click ![]() Edit remote control in the Toolbar. Edit remote control form will be opened. Edit the Brand/RC type or chose one from the list, then edit the RC name. Click Edit RC key.
Edit remote control in the Toolbar. Edit remote control form will be opened. Edit the Brand/RC type or chose one from the list, then edit the RC name. Click Edit RC key.
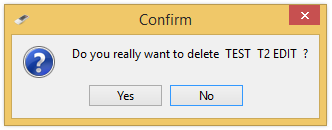
Click ![]() Delete remote control in the Menu or Toolbar if you want to delete Remote Control.
Delete remote control in the Menu or Toolbar if you want to delete Remote Control.
To open software run the file RCCreator. Connect the RC to your PC with USB cord. If you connect the RC correctly - it will flash a red light. At the status bar (bottom-left window RCCreator) you will see an inscription in green font on a connected RC.
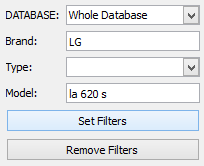
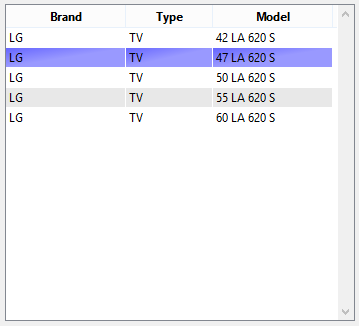
Find the desired remote control in RCCreator software. To do this just search for it in the list or use the filter.
Click ![]() program remote control in the menu bar. The window for remote control programming will open.
program remote control in the menu bar. The window for remote control programming will open.
For programming the remote control, select the location for installation and click ![]() add.
add.
You can see that the remote control is programming if it flash a red light. Do not disconnect it from the computer. Once the red light goes out - you can turn off the console, it has already programmed.
If you want to erase the remote control, select the location and click ![]() erase.
erase.
Some of USB remote controls have macro buttons. You can add several commands into one button.
Click ![]() program macro in the menu bar. The window for macro buttons programing will open.
program macro in the menu bar. The window for macro buttons programing will open.
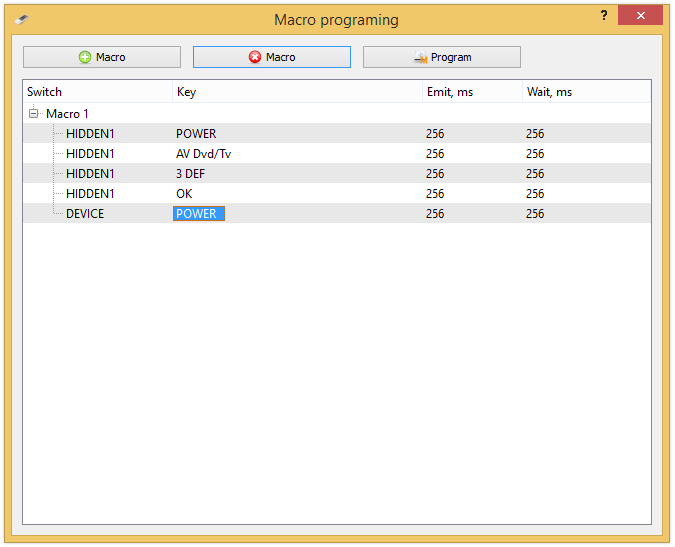
![]() Add or
Add or ![]() delete macro codes like you need, then push
delete macro codes like you need, then push ![]() program
program
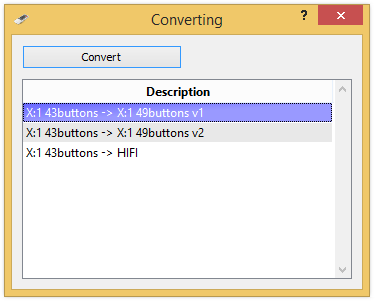
Click ![]() Convert key in the Menu or Toolbar. The Convert form occurs.
Convert key in the Menu or Toolbar. The Convert form occurs.
Click ![]() Export key in the Menu or Toolbar. The Export form occurs. Enter the name of the file and press Save.
Export key in the Menu or Toolbar. The Export form occurs. Enter the name of the file and press Save.
Click ![]() Import key in the Menu or Toolbar. The Import form occurs. Chose file extension xml for import and press Open.
Import key in the Menu or Toolbar. The Import form occurs. Chose file extension xml for import and press Open.
Click Preview in the Menu. The Preview form occurs. Here you can view and print the key conforming of the original RC and USB RC. You can print the information using ![]() Print, without preview.
Print, without preview.
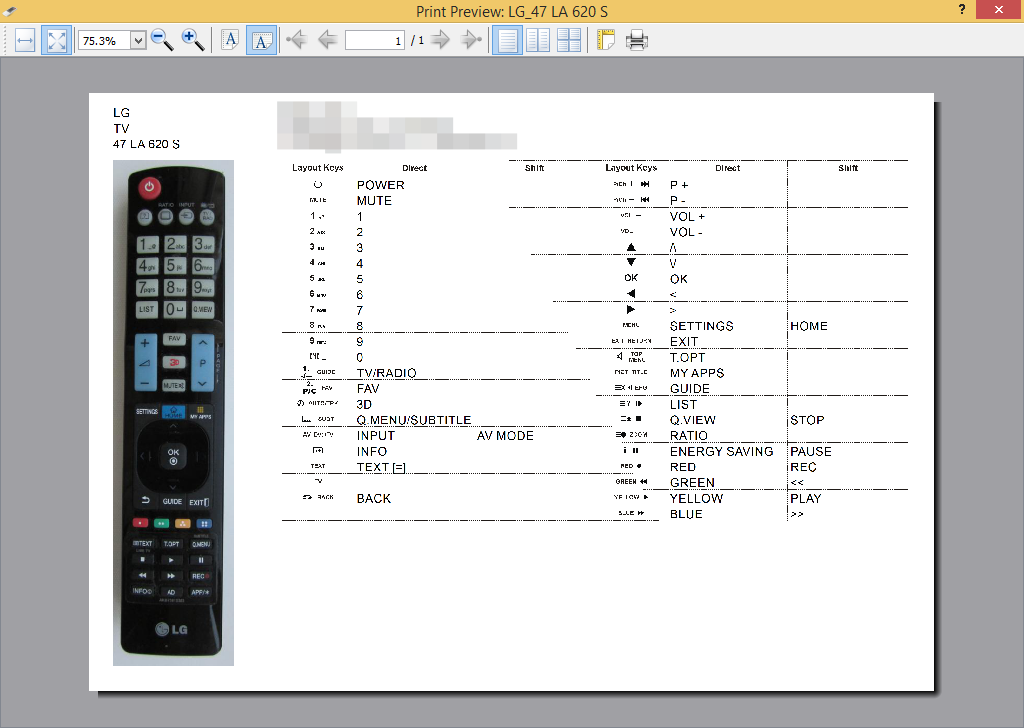
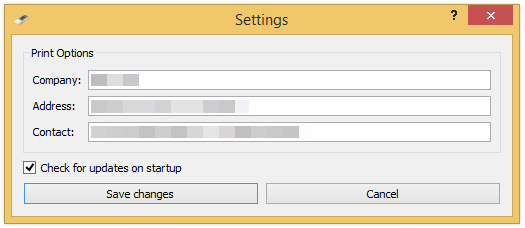
Our contacts are printed on page. You can change them in the Parameters form.
Click Virtual remote control in the Menu. Chose the needed RC. Now You can transmit from the computer pressing the corresponded keys on the RC image.
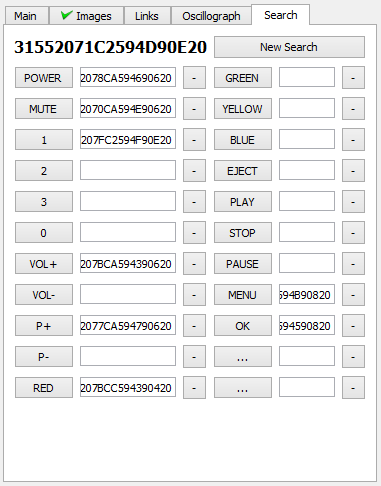
Click ![]() Search key in the Menu or Toolbar. The Search form occurs. Read the keys You need. In the Left the corresponded RC occur. You can go to one of them with the double click of the mouse.
Search key in the Menu or Toolbar. The Search form occurs. Read the keys You need. In the Left the corresponded RC occur. You can go to one of them with the double click of the mouse.
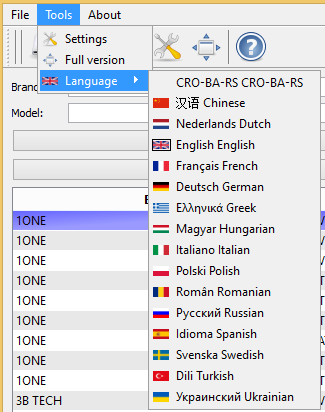
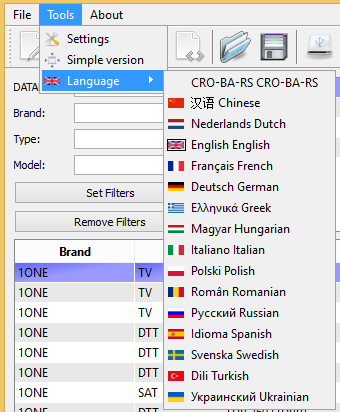
Chose your language in the Menu. The program will automatically set the chosen language.
Click ![]() Settings in the Menu and the settings form occurs.
Settings in the Menu and the settings form occurs.